Who loves Eurorack modular synthesizers? ME!
I’ve been following Eurorack for years, but was always too afraid to get into it because of the high price point, especially because there’s not a lot made here in Melbourne – so everything has to be imported.
This year after doing a lot of research I discovered that building DIY modules is a really affordable way to get what I want without breaking the bank, some modules are half the price if you buy them unassembled. And there’s so many youtube videos that teach you the basics of soldering, how to use a multimeter and how to identify various components.
I also discovered that Eurorack cases are also very expensive, unless you buy one of the uglier mass-produced ones.
I just wanted something that could house a small setup that would look nice on my studio desk but also something that would be portable for gigs. So I decided to design a wooden case that could be sold as a DIY kit, allowing everyday hobbyists to build something that looks and feels premium without paying the big price tag. I think building DIY kits allows you to take some pride in your hobby and teaches new skills. It certainly taught me a few things!
All materials used for our hobby can be found at your local hardware store such as a Bunnings or Mitre 10.


Some tips for your DIY Eurorack case
Sanding Gluing your wooden case
So you have your DIY case kit. All the pieces are there and ready to be assembled. First thing’s first – give it a sand! Using a fine grain sandpaper (don’t use the really rough stuff or you will tear up the wood grains), gently sandle the pieces until the wood is smooth and without any splinters. Remember to sand in the direction of the grain of the wood. Next you’ll need to pour a fine bead of PVA wood glud in the grooves of the wood panels. This is where the “tongue” of the opposing pieces slots to hold the box together. Slot all the pieces together to create the box and then let them sit overnight to dry and adhere properly. Make sure to use a rag to wipe away any excess PVA glue that manages to escape the grooves.
Sealing your wooden Eurorack case
There are several options for treating the wood of your case, although you can actually leave it untreated if you like that look. Whilst you can buy many varieties of wood stains and varnishes, I recommend using Tung Oil. Because my case is made from furniture grade Birch plywood, it has a lovely blonde appearance and looks best being as natural as possible. The Tung Oil simply seals it from moisture whilst give it a nice matt finish, but with a slight lustre.
The method for application requies some rubber gloves, as Tung Oil is not so good on the skin or in your eyes. Most people recommend apply the first coat mixed 50% with some mineral turpentine to soak into the wood better. Use a rag to rub it in evenly. Leave overnight and repeat the process but this time with undiluted Tung Oil. You can also repeat a third time. After setting, rub any excess oil off with a dry rag. Here’s a great video which breaks down the steps.
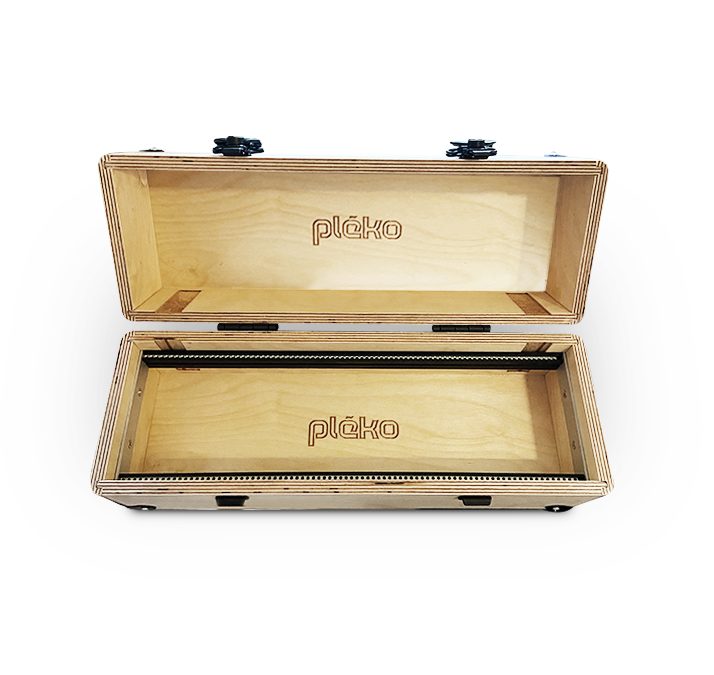
Attach your hardware
The last stage is to attach the hinges, latches, handle and corner braces. Using a screwdriver and carefully lining up everything with the pre-drilled holes, attach the pieces using the provided screws. Attach your power board inside the box. Most power boards come with a stencil for marking the holes to be drilled for the mounting spacers. Once you mark these, drill the holes and place your mounting spacers in them, then attach the power board. Last step is to screw your rack rails to the inside of the box.
And there you have it, your own DIY eurorack case, ready to house your very own custom modular synthesizer.
Check out our DIY eurorack cases made in Melbourne!


Recent Comments